Importing OVAs into Proxmox
If you have used VMWare Workstation Player or Oracle VirtualBox, you are likely familiar with .ova (open virtualization appliance) and .ovf (open virtualization format) files. These are standardized formats for exporting virtual machine images which you could encounter when you want to share a VM or load someone else’s VM. These file formats import easily to Workstation Player or VirtualBox, but aren’t as easily imported into Proxmox. It is still possible to use these formats with Proxmox, but it takes a few more steps, ones that I will outline below.
Step 1a: (do either a or b, both is not necessary) SSH into Proxmox
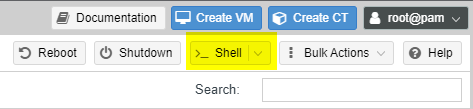
Step 1b: Login to your Proxmox VE web portal and open the shell. To launch the shell, click the drop-down menu in the upper right corner of the web portal.
Step 2: Create a new directory called ova_import and move into that directory.
mkdir ova_import && cd ova_import

Step 3: Either download the .ova file to your Proxmox host or transfer it from your local host. In my case, I had the files (an .ovf and .vmdk) already downloaded to my local host, so I transferred them using secure copy protocol (scp).
Usage: scp <path to file to transfer> root@<proxmox IP address>:/root/ova_import/

Step 4 (optional): If the file you downloaded/transferred is .ova, do this step, otherwise if you have a .ovf and .vmdk file, skip this step.
Extract your .ova file with the following command:
tar -xvf <filename>
This will extract the .ovf and .vmdk files you will need.
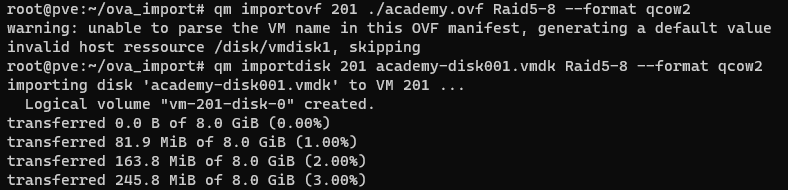
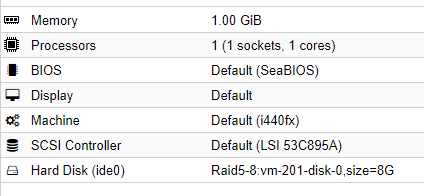
Step 5: Select an unused VM number in proxmox, in my case I used 201, and note the name of the disk where you will store the VM and its virtual disk. Mine is called Raid5-8. First, import the ovf:
qm importovf <VM ID> ./<path to ovf> <storage disk name> –format qcow2
You may get a warning about Proxmox not being able to parse the VM name. Ignore this warning and import the virtual disk:
qm importdisk <VM ID> <path to vmdk> <storage disk name> –format qcow2
You should see the progress of the import, followed by a success message. Note that the disk is titled unused.

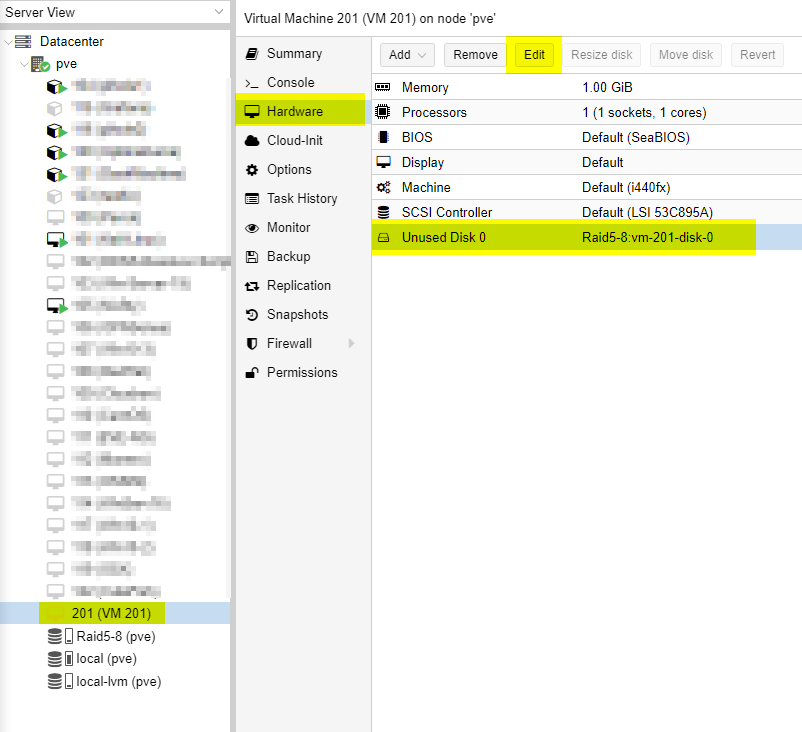
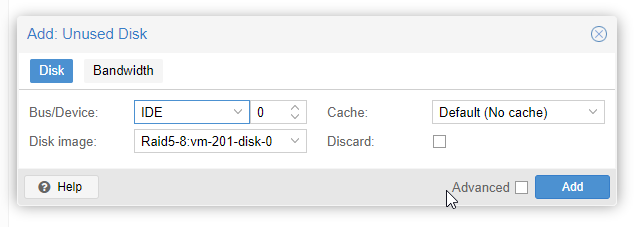
Step 6: Your new imported VM should appear in your list of VMs. Select it and go to its hardware tab. Select the unused disk, click edit, and add the unused disk as a hard disk. I chose the default, IDE. After doing this, you’ll notice the disk name has changed from Unused Disk to Hard Disk.
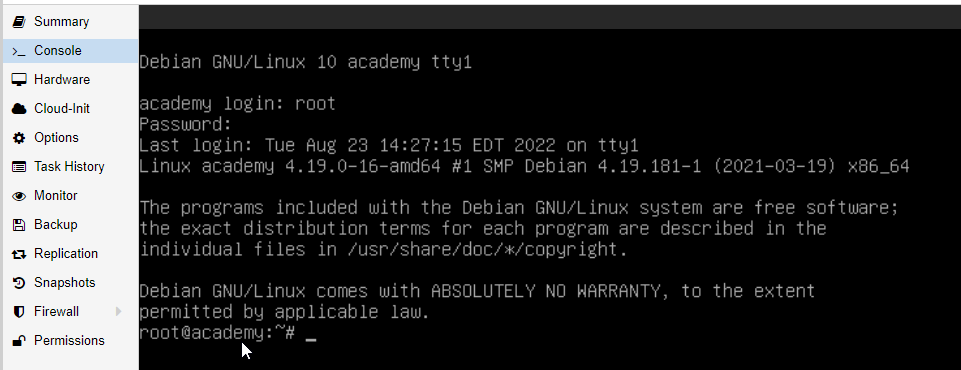
Step 7: You can now start your VM!
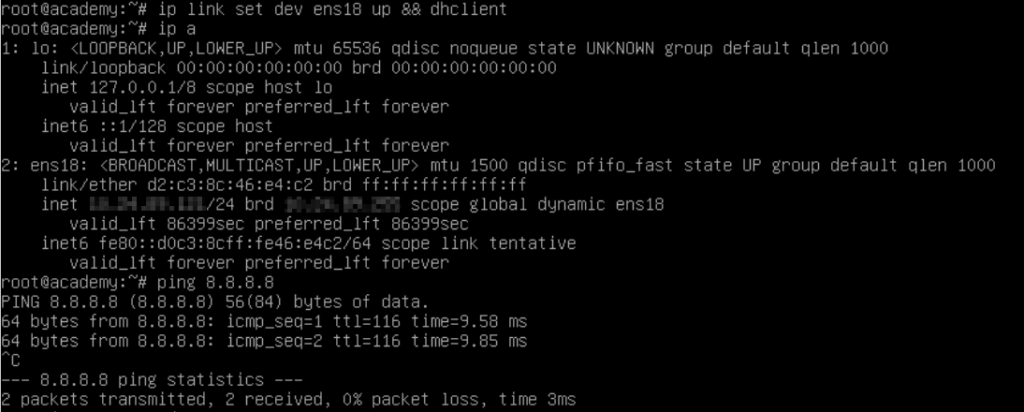
Step 8 (optional): I wanted to add this VM to the same subnet my other VMs are on. In the same Hardware tab as where you added the hard disk, click the Add drop-down menu and select network device. For model, I chose VirtIO (paravirtualized).
Restart the VM if it was running. Your new virtual NIC may not automatically start. Check by running the ip a command. If its state shows DOWN, you can start it with the ip link set dev <NIC name> up command. I also wanted my host to grab an IP address from my DHCP server, so I added && dhclient. Your VM should start the NIC and get a new IP address. You can confirm it is working by pinging the Google DNS servers (8.8.8.8) or any other website.
*Please note that the VM used here is for demonstration purposes only.
Additional resources: